



How to Grow Microgreens at Home in India: A Complete Beginner’s Guide

Whether you live in a 2BHK in Mumbai with just a kitchen window, or have a proper balcony garden in Bangalore, microgreens are the easiest way to start growing your own food — no big garden, no farming experience, and your first harvest in as little as 7-10 days.
What Exactly Are Microgreens?
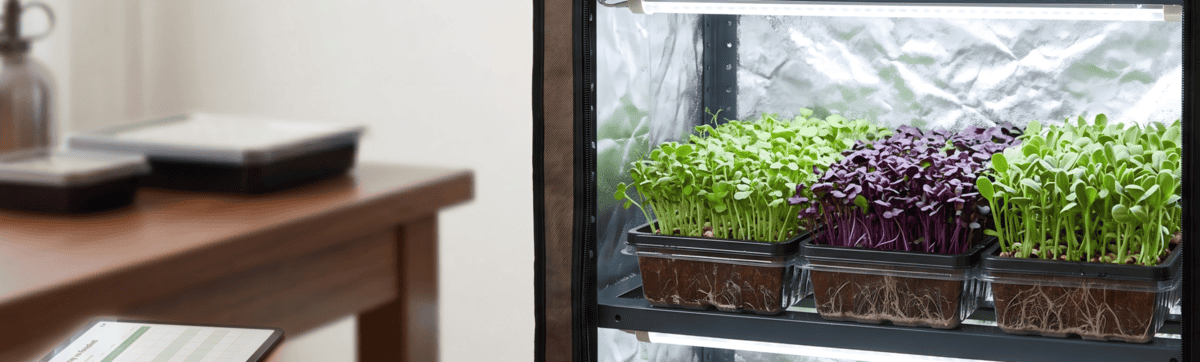
Microgreens are young seedlings of vegetables, greens, or legumes, harvested just after their first (seed) leaves open — usually between 7 and 21 days after sowing. They’re not the same as sprouts (which you eat root and all, grown in water for 3-5 days) or full-grown sabzi from your kitchen garden.
Nutritionally, microgreens often pack more vitamins and antioxidants per gram than the mature vegetable — which is exactly why they’ve become popular on restaurant plates and why more home growers are now selling small batches to local cafes and juice bars.

- No need for a farm or even a full balcony — a windowsill gets the job done
- Very low water use compared to a regular kitchen garden
- Fast turnaround — you can restart a fresh tray every week
- Great side income idea — restaurants and health cafes in most metro cities now buy fresh microgreens directly from small home growers
Why microgreens make sense for Indian homes:
What You’ll Need
Nothing here needs to be imported or expensive — most of it is available on Amazon India, local nurseries, or even your kitchen:
- Two trays — one with drainage holes, one without (to catch excess water). Standard seedling trays cost around ₹100-300 for a set.
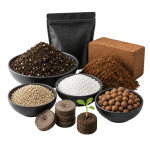
- Growing medium — coco peat (coco coir) is the easiest and cheapest option in India, widely sold as gardening blocks for ₹100-200. Avoid using regular garden mitti straight from outside — it often carries fungus spores.
- Seeds — good beginner choices that are easy to find locally: sarson (mustard), moong, methi (fenugreek), radish (mooli), and sunflower. Buy from a trusted seed supplier rather than seeds meant for cooking dals, as those are sometimes treated or too old to germinate well.
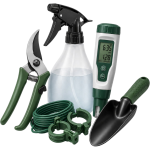
- A spray bottle for watering.
- Light — an east-facing window works well; if your home doesn’t get much direct sun, a basic LED grow light is a low-cost backup, especially useful during Delhi’s foggy winter months.
- Optional — a small flat weight (a plate with something heavy on it) to press the seeds down evenly for the first couple of days.
Step-by-Step Growing Guide
Step 1: Soak the Seeds
Larger seeds like moong or sunflower should be soaked in water for 8-12 hours before sowing — this speeds up germination. Smaller seeds like sarson, methi, or radish don’t need soaking; they turn gelatinous and clump together if you do.
Step 2: Prep the Growing Medium
Add a 2-3 cm layer of moistened coco peat into the tray with drainage holes. It should feel damp like a wrung-out sponge — not soggy, and definitely no standing water.
Step 3: Sow the Seeds
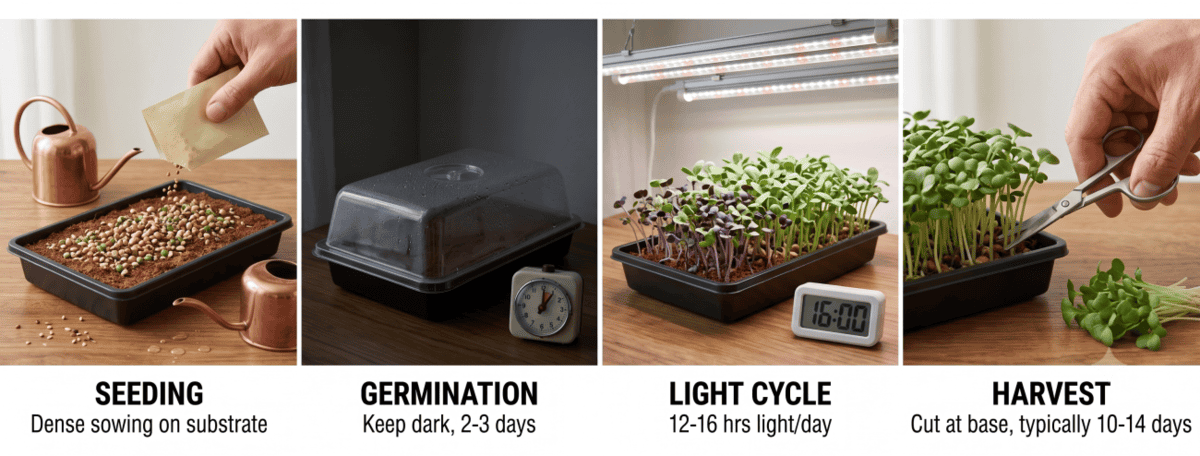
Scatter seeds evenly and densely across the surface much thicker than you would for regular sabzi seedlings. Press gently into the coco peat, but don’t cover them with more medium on top.
Step 4: The Blackout Phase
Cover the tray with the second tray (upside down) or a dark cloth, and keep it in a warm spot away from light for 2-4 days. This encourages the seeds to germinate and stretch upward. Check moisture once a day.
Step 5: Bring It Into the Light
Once you see pale sprouts with a small hook shape, remove the cover and move the tray to your windowsill or under the grow light for 12-16 hours a day. The greens will turn a healthy green within a day or two.
Step 6: Watering
Mist with the spray bottle once or twice a day — never pour water directly, and never let water pool at the bottom. Good airflow and no waterlogging are your best defence against fungus, which is a real risk during India’s humid monsoon months.
Step 7: Harvest
Snip the microgreens at the base of the stem with scissors once the first true leaves start to show — typically 7-14 days in. Rinse gently and pat dry with a paper towel or clean cloth before storing.
Common Beginner Mistakes
- Overwatering — the single biggest cause of mould and rot, especially in humid coastal cities like Mumbai or Chennai.
- Poor airflow after uncovering the tray — a stuffy, closed room encourages fungus just as much as too much water does.
- Sowing too thin — microgreens are sown far denser than regular seedlings.
- Uncovering too early — wait for that little hook/loop shape before bringing seeds into light.
- Using untreated garden soil — it usually already carries mould spores; stick to coco peat or a sterile growing mat.
Best Beginner Crops for Indian Kitchens
| Crop | Days to Harvest | Difficulty |
|---|---|---|
| Sarson (mustard) | 7-10 days | Easy |
| Mooli (radish) | 7-10 days | Easy |
| Sunflower | 10-12 days | Easy |
| Moong | 10-14 days | Moderate |
| Methi (fenugreek) | 8-12 days | Moderate |
| Basil | 14-21 days | Harder (slow, sensitive to overwatering) |
Storing Your Harvest
Keep freshly cut microgreens in an airtight container lined with a paper towel (it absorbs excess moisture) in the fridge for 5-7 days. Wash just before eating, not before storing — pre-washing shortens shelf life considerably in humid weather.