




DWC Hydroponics at Home: The Complete Beginner’s Setup Guide (India Edition)

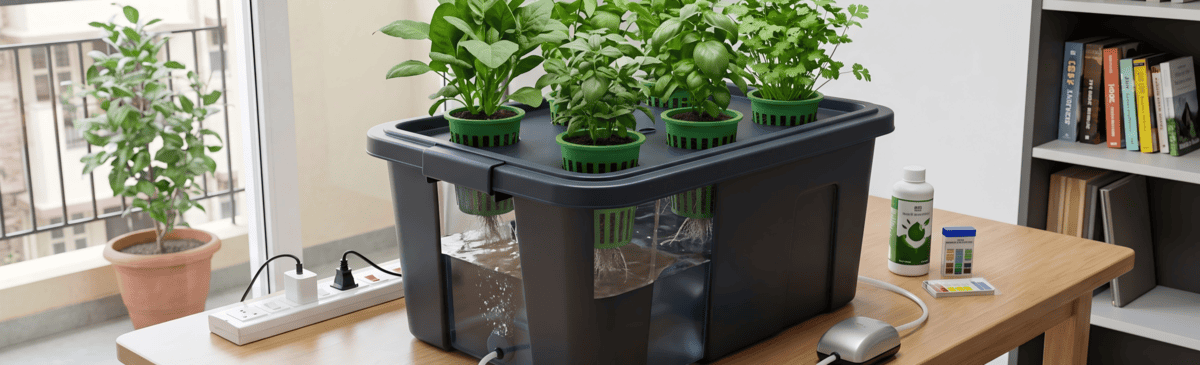
If microgreens got you hooked on growing your own food, Deep Water Culture (DWC) is the natural next step — no soil, no mess, faster growth, and it works brilliantly in Indian apartments where balcony space and good soil are both hard to come by.
What Is DWC and Why It Works So Well in India
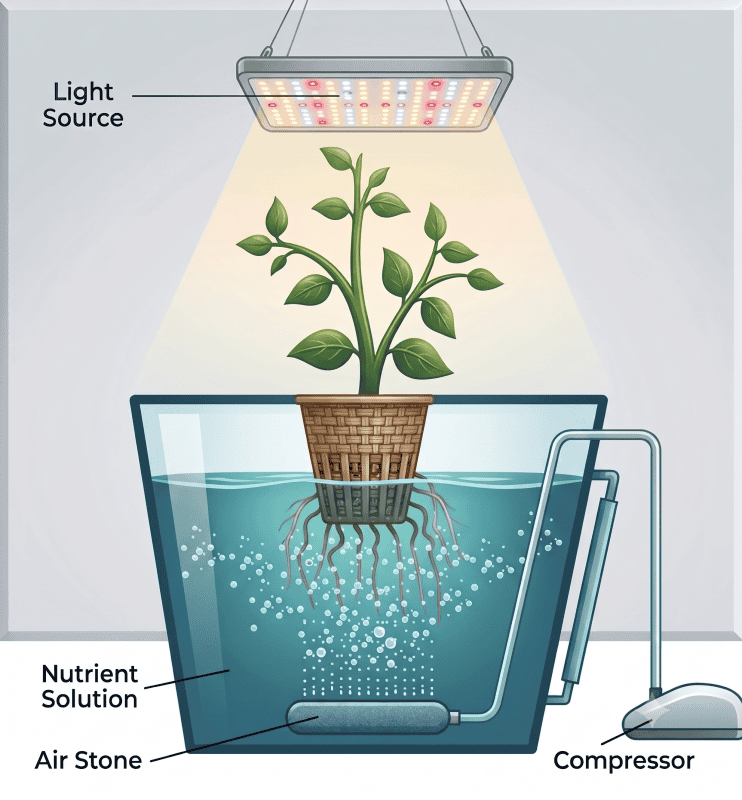
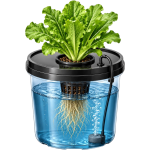
Deep Water Culture is the simplest form of active hydroponics: the plant sits in a net pot with its roots hanging directly into a reservoir of nutrient-rich water, and an air pump keeps that water oxygenated so the roots don’t drown. No soil, no watering schedule to remember, no soggy balcony floor.
For Indian growers specifically, DWC solves a few real problems:
- No good mitti nearby — city apartments rarely have access to decent topsoil, and bagged potting mix can be expensive or inconsistent in quality.
- Water efficiency — DWC uses a fraction of the water a soil pot needs, since nothing drains away and evaporates from open ground.
- Faster growth, less pest trouble — without soil, you sidestep most of the ants, fungus gnats, and soil-borne fungal issues that plague balcony gardens during monsoon.
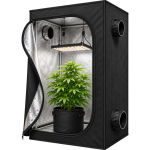
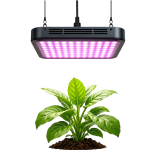
- Works indoors year-round — pair it with a basic LED grow light and you’re not at the mercy of Delhi’s smoggy winters or Mumbai’s endless monsoon clouds.
The tradeoff: DWC needs a little more attention to detail than a soil pot — mainly around water temperature, oxygen, and nutrient strength. This guide walks through all of it.
What You’ll Need
Most of this is available on Amazon India or from local hydroponics sellers in Bangalore, Pune, and Delhi NCR — you don’t need imported gear to get started:
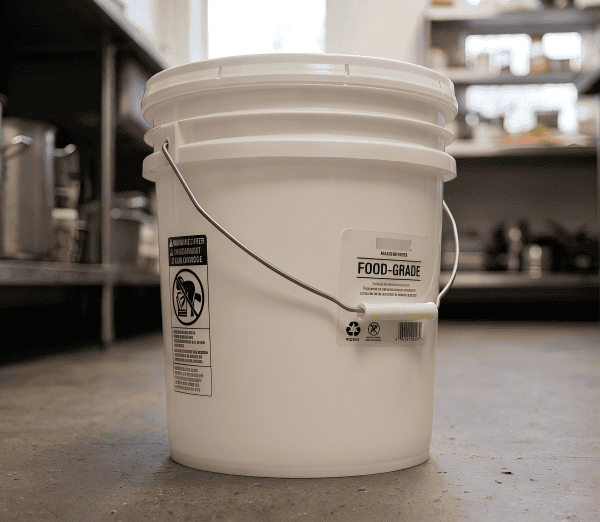
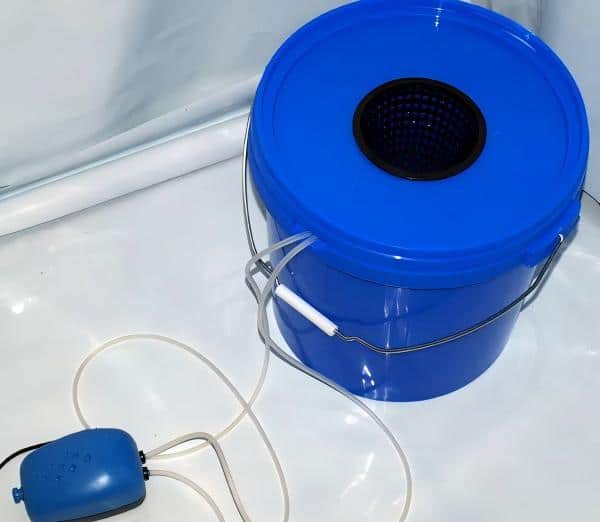
- A food-grade bucket or tub, 5-15 litres depending on the plant — a 10-15L bucket works well for a single tomato or chilli plant; smaller 3-5L containers are fine for lettuce, spinach, or mint.
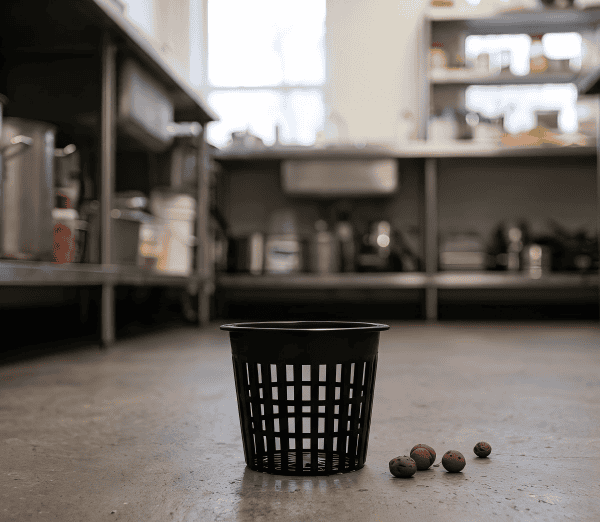
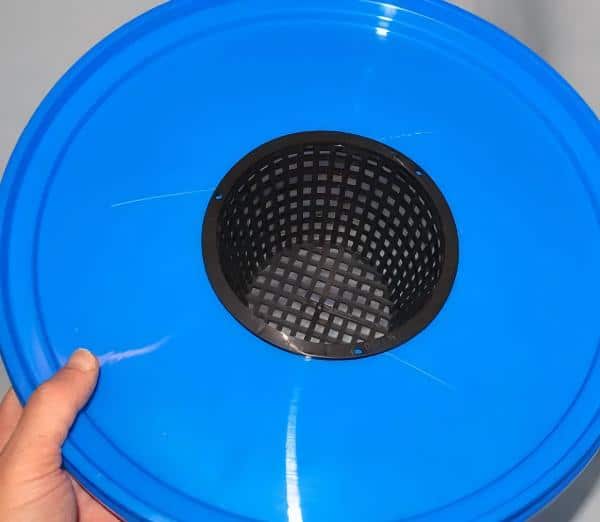
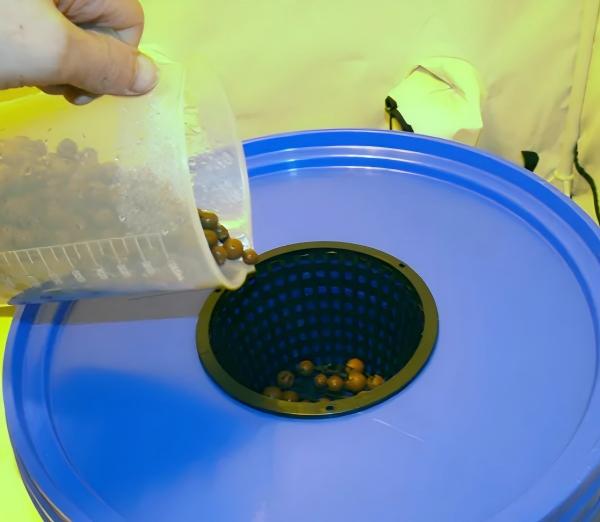
- A net pot sized to fit a hole cut in the bucket lid, plus growing medium for the net pot — clay pebbles (LECA) or coco-coir plugs both work and are sold locally.
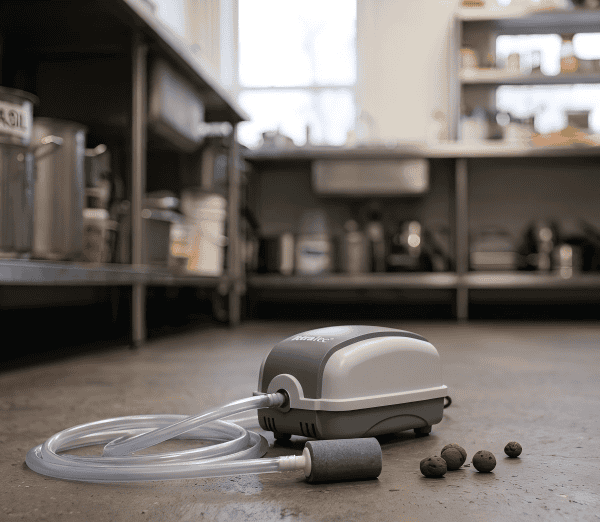
- An air pump with an air stone — the same kind used for fish aquariums works fine and is cheap and easy to find.
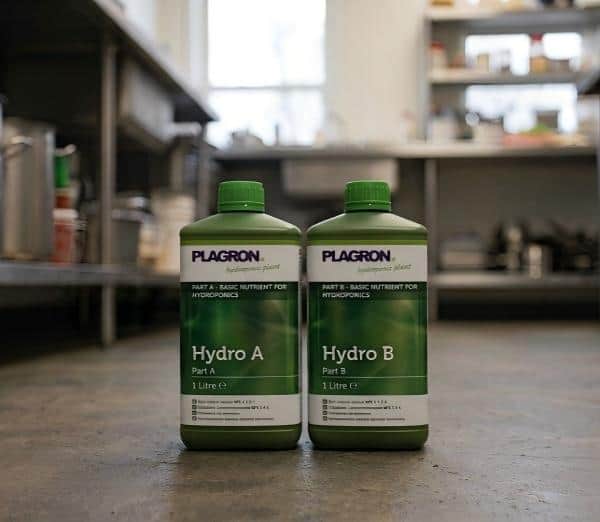
- Hydroponic nutrient solution — a two-part A+B liquid nutrient mix is easiest for beginners; several Indian hydroponics brands now sell starter kits online.
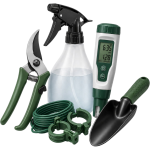
- A pH meter or pH test kit, plus pH up/down solution to adjust it.
- A TDS/EC meter to check nutrient strength (optional at first, but very helpful once you’re past the first grow).
- Optional but recommended: an opaque bucket or black paint/wrap — light hitting the reservoir encourages algae, which is one of the most common DWC problems in India’s warm climate.
Step-by-Step Setup
Step 1: Prepare the Bucket
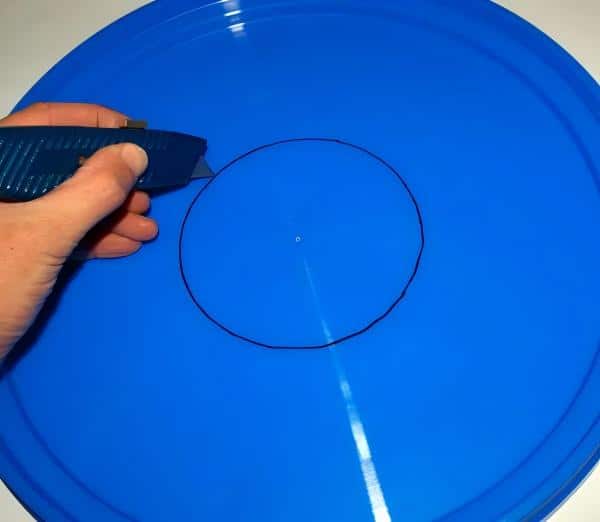
Cut a hole in the lid sized to snugly hold your net pot, with the bottom of the net pot sitting just above the future water line — roots need to reach down into the water, but the base of the plant shouldn’t sit submerged.
Step 2: Set Up Aeration
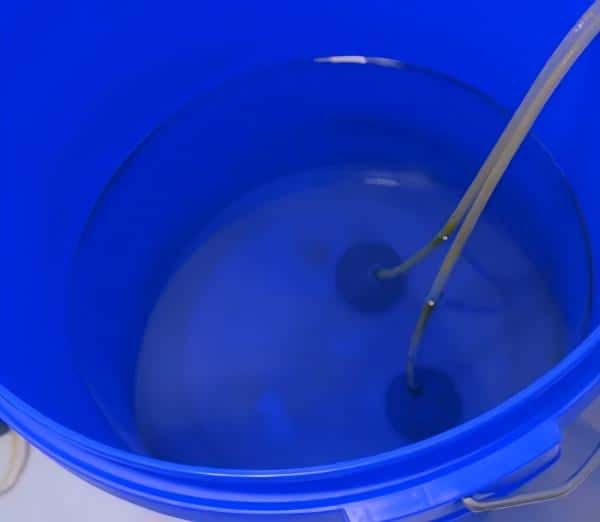
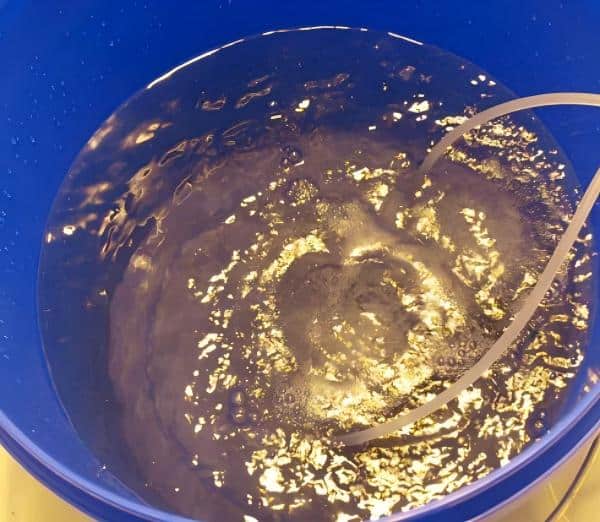
Drop the air stone to the bottom of the bucket, run the tubing out through a small notch in the lid, and connect it to the air pump outside. Keep the pump running continuously, 24/7 — this is non-negotiable in DWC, since stagnant water starves roots of oxygen within hours.
Step 3: Mix Your Nutrient Solution
Fill the bucket with water and add your A+B nutrient solution following the dosage on the bottle (usually measured in ml per litre). Use your TDS meter if you have one — for leafy greens like spinach or mint, aim lower in the recommended range; for fruiting plants like tomato or chilli, you can go higher once the plant matures.
Step 4: Check and Adjust pH
Most vegetables prefer a pH between 5.5 and 6.5. Test with your pH kit and adjust using pH up or pH down solution a little at a time — big swings stress the roots more than a slightly-off pH does.
Step 5: Plant Your Seedling
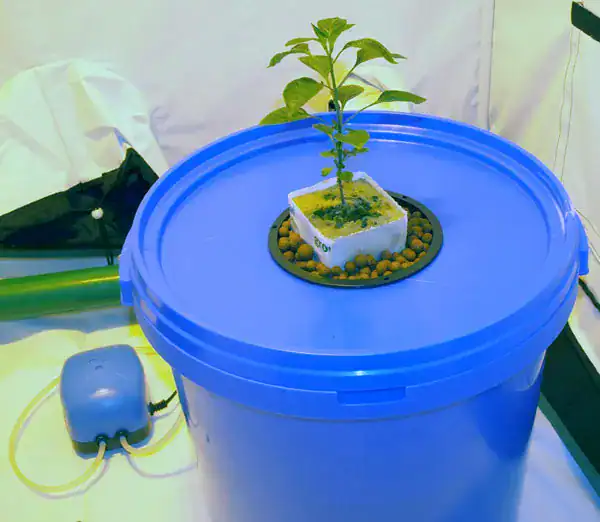
Start seeds separately in rockwool cubes or coco plugs until they show a couple of true leaves and some root growth, then transfer the seedling and plug into the net pot, packing clay pebbles around it for support.
Step 6: Place and Monitor
Position the bucket somewhere it gets 6+ hours of light (natural or grow light) and keep the reservoir out of direct sun to avoid algae and overheating. Check water level every 2-3 days, topping up with plain pH-adjusted water as the plant drinks — nutrients get used up more slowly than water does, so you’ll only need to fully replace the solution every 1-2 weeks.
Common DWC Mistakes (and How to Avoid Them)
- Turning off the air pump at night to save on electricity — don’t. Roots can suffocate and die within a few hours without oxygen; the pump’s power draw is tiny compared to the risk.
- Letting the reservoir get warm — water above ~28°C holds less oxygen and encourages root rot, a real risk during Indian summers. Keep the bucket shaded, or in extreme heat, consider a frozen water bottle floated in the reservoir occasionally.
- Ignoring algae growth — green, slimy water usually means light is reaching the reservoir. Wrap the bucket in black plastic or use an opaque container from the start.
- Overdosing nutrients — more isn’t better; too-strong solution burns roots and shows up as leaf tip browning. Stick to the label dosage and adjust based on plant response.
- Never changing the water — even though you’re topping up, minerals build up unevenly over time. Do a full reservoir change every 10-14 days.
Best Plants for a First DWC Grow in India
| Plant | Difficulty | Notes |
|---|---|---|
| Spinach (palak) | Easy | Fast-growing, forgiving of minor mistakes |
| Mint (pudina) | Easy | Very tolerant, great for beginners |
| Lettuce | Easy | Reliable, quick harvest in 4-5 weeks |
| Basil | Moderate | Loves warmth, watch for root rot in high heat |
| Tomato (cherry varieties) | Moderate-Hard | Needs a bigger reservoir and support stakes |
| Chilli | Moderate-Hard | Slower, but does very well long-term in DWC |
Final Thoughts
DWC looks intimidating at first glance — pumps, pH meters, nutrient ratios — but once the system is running, it’s genuinely lower-maintenance than a soil pot. Keep the pump on, keep the reservoir cool and dark, and check your water every couple of days, and you’ll have healthier, faster-growing plants than most balcony gardens manage with soil alone.