
How to Grow Coriander (Dhania) at Home All Year Round

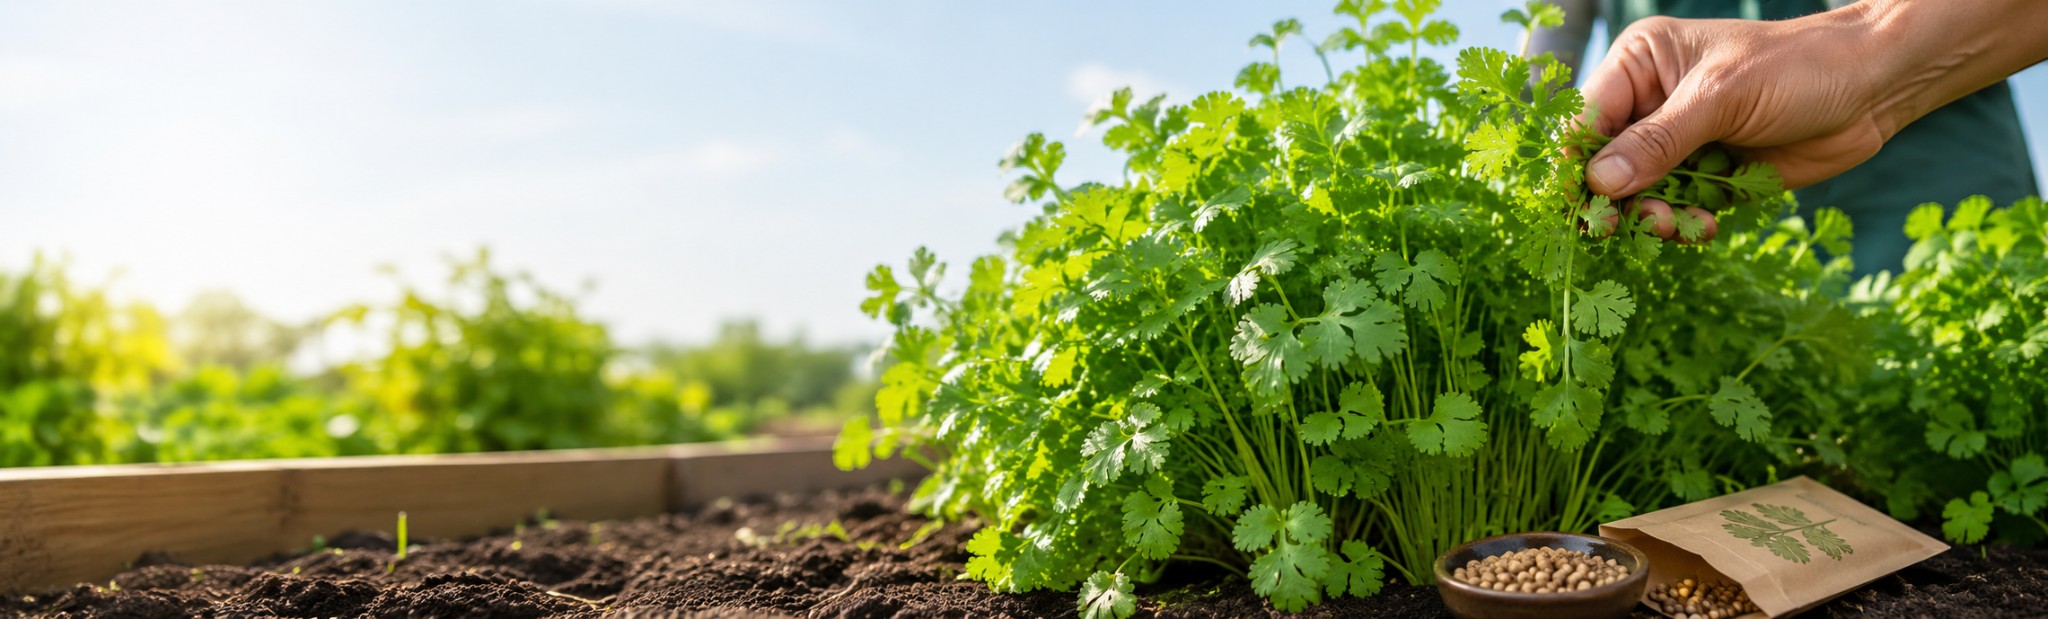
Dhania is one of those herbs every Indian kitchen goes through fast — and one of the most frustrating to buy fresh, since it wilts within a day or two and bolts (turns bitter and flowers) the moment the weather warms up. The good news is that it’s genuinely easy to grow yourself, on a windowsill, balcony, or kitchen counter, with nothing more than a pot and some sun.
Why Coriander Is Worth Growing at Home
Coriander is used in almost every Indian dish, from chutneys to garnish to the base of countless gravies — which also means it’s one of the herbs people buy most often and waste most often. A bunch from the sabzi mandi rarely lasts more than 2-3 days in the fridge, and coriander is notoriously quick to bolt once temperatures climb past around 27-30°C, turning the leaves sparse and bitter.
Growing your own fixes both problems: you harvest only what you need, when you need it, and with a bit of care around timing and placement, you can keep a fresh supply going for weeks instead of watching a store-bought bunch wilt in the fridge drawer.
What You’ll Need
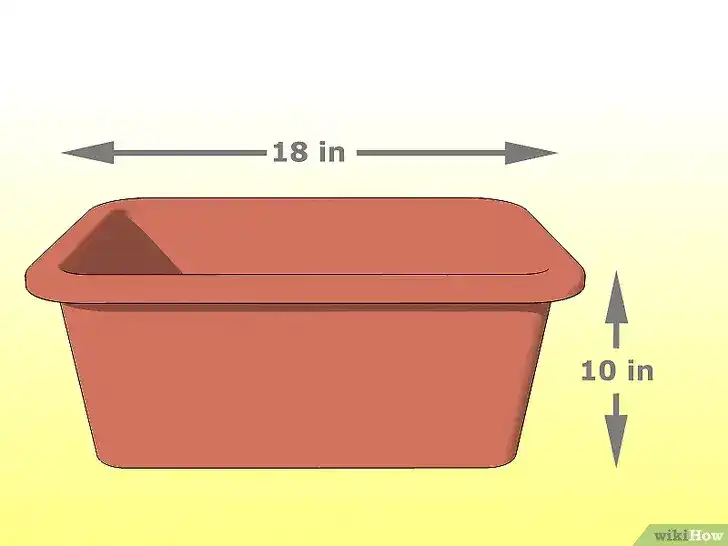
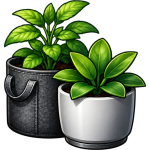
- A wide, shallow pot or tray (at least 6 in deep) with drainage holes — coriander’s roots are fairly shallow, so width matters more than depth.
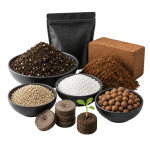
- A light, well-draining potting mix — regular potting soil mixed with some sand or coco peat works well; coriander doesn’t like waterlogged roots.
- Coriander seeds — lightly crush the round seed husks before sowing (each husk usually contains two seeds), which speeds up and improves germination.
- A spot with 4-6 hours of sunlight — an east-facing window or a covered balcony that gets morning sun works well. Avoid harsh afternoon sun in peak summer, which accelerates bolting.
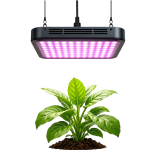
- Optional — a small grow light, if your space doesn’t get consistent natural light, especially useful during Delhi’s foggy winter months.
Step-by-Step Growing Guide
Step 1: Prepare the Seeds
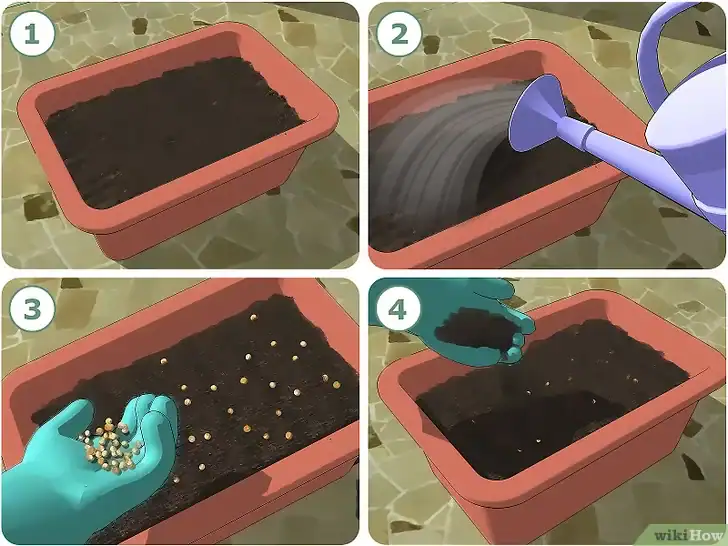
Gently crush the dried coriander seed husks between your palms or with the back of a spoon — just enough to crack them open, not crush them to powder. Soak the cracked seeds in water for 12-24 hours to soften them further and speed up germination.
Step 2: Sow the Seeds
Fill your pot or tray with the potting mix, level it off, and sow the seeds about 1-2 cm apart — closer than you’d normally space seeds, since coriander is usually harvested young rather than grown into large individual plants. Cover with a thin layer of soil, about 0.5 cm.
Step 3: Water and Position
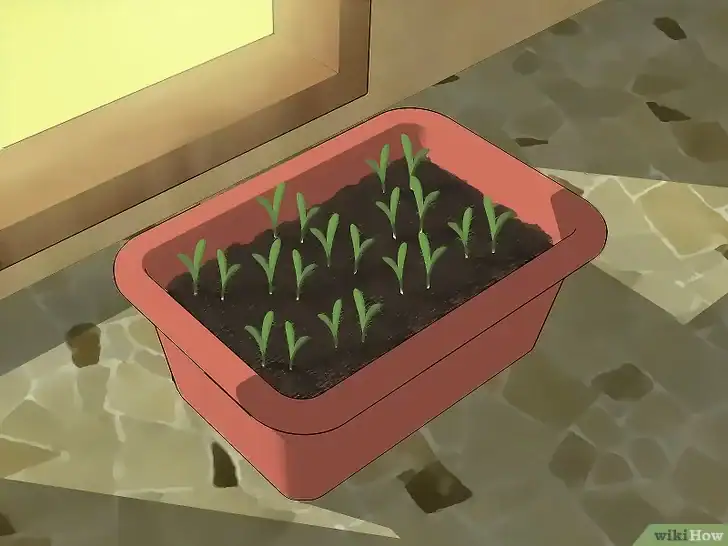
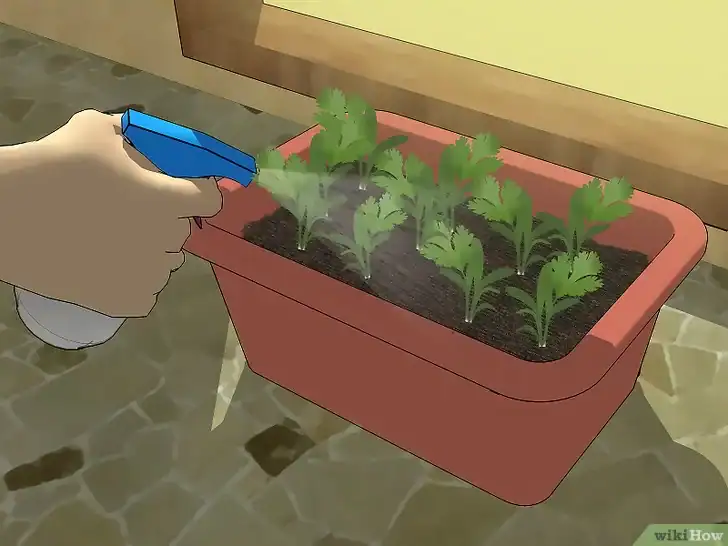
Water gently until the mix is evenly moist but not soggy, then place the pot somewhere it gets good morning light. Keep the mix consistently damp (not wet) until germination, which usually takes 7-14 days.
Step 4: Ongoing Care
Water whenever the top of the soil starts to feel dry — coriander doesn’t like sitting in soggy soil, but it also shouldn’t be allowed to fully dry out, since that stresses the plant into bolting early. Thin out overcrowded seedlings if germination was very dense, giving the remaining plants a bit more room to grow.
Step 5: Manage Heat
Coriander grows best between roughly 18-25°C. During hot months, move the pot to a spot with morning sun and afternoon shade, and water a little more frequently to keep roots cool. This single step makes the biggest difference to how long your plants stay productive before bolting.
Step 6: Harvest
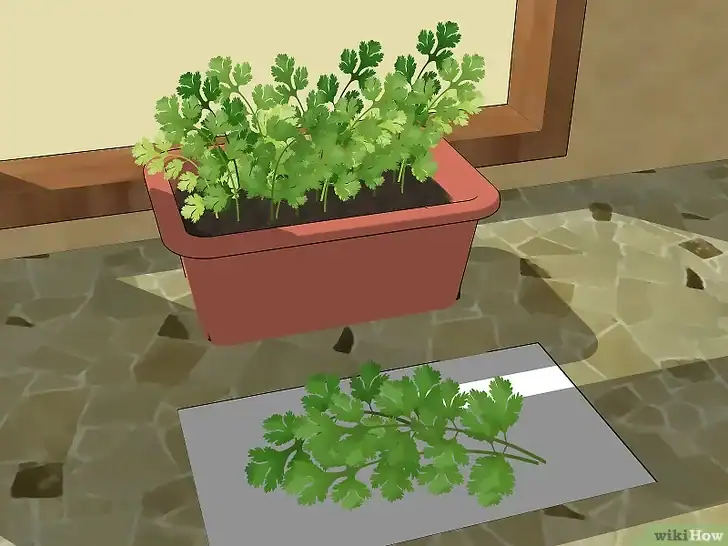
Start snipping outer leaves once plants are around 15 cm tall, usually 3-4 weeks after sowing. Cut stems near the base rather than pulling leaves individually — this encourages the plant to keep producing new growth instead of stalling.
Common Mistakes
- Growing it in peak summer heat with no shade — this is the single biggest reason home-grown coriander bolts early; give it morning sun and afternoon shade once temperatures climb.
- Sowing too sparsely — coriander is typically harvested as a leafy crop, not grown into large individual plants, so it should be sown far denser than most herbs.
- Skipping the seed-crushing step — whole, uncracked seed husks germinate far less reliably.
- Inconsistent watering — both drought stress and waterlogged roots push the plant toward bolting or rot; aim for steady, even moisture.
- Not rotating batches — coriander has a relatively short productive window before it bolts regardless of conditions, so sowing a fresh pot every 3-4 weeks keeps a continuous supply going rather than relying on one batch that eventually runs out.
Quick Reference
| Factor | Ideal range |
|---|---|
| Germination time | 7-14 days |
| Time to first harvest | 3-4 weeks |
| Ideal temperature | 18-25°C |
| Light needed | 4-6 hours/day (or 10-12 hrs under grow light) |
| Watering | Evenly moist, never soggy |
Want More Control? Try Growing It in a Small Grow Tent
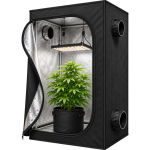
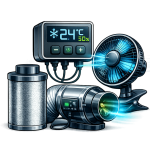
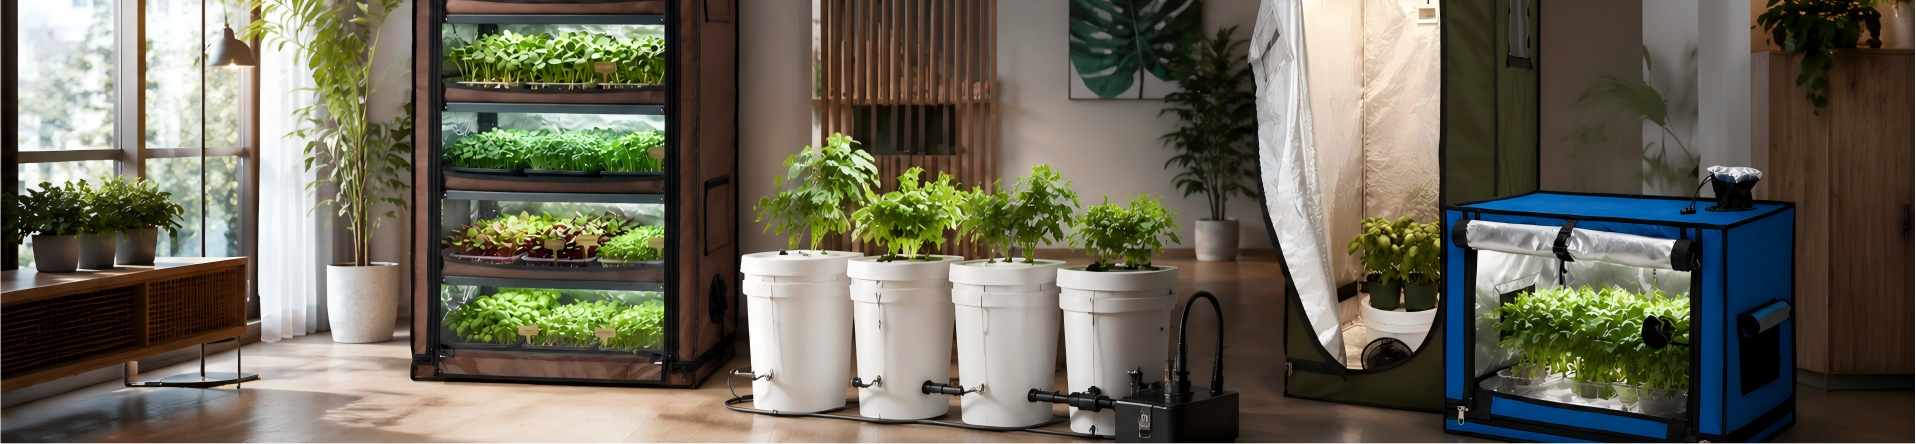
If you find yourself fighting the weather every summer — coriander bolting the moment temperatures spike, or struggling through Delhi’s dull winter light — a small enclosed grow tent takes that variability out of the equation entirely. A compact tent (around 50 cm tall, 60 cm wide, 50 cm deep is plenty for a couple of trays) paired with a small LED grow light lets you hold a steady 18-25°C and consistent light hours no matter what’s happening outside. It’s not necessary to get started, but it’s a natural upgrade once you’re growing coriander regularly and want more predictable, continuous harvests.
Final Thoughts
Coriander is one of the easiest herbs to grow at home once you understand its one real weakness — heat. Keep it cool, water it evenly, and sow a fresh batch every few weeks, and you’ll go from buying wilted bunches at the sabzi mandi to snipping exactly as much as you need, whenever a recipe calls for it.